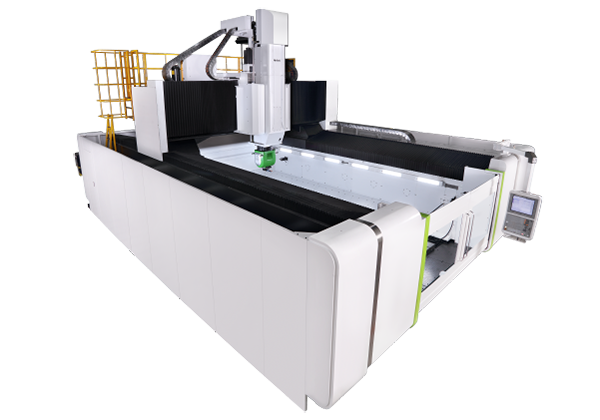
Gantry type 5-axis machining center

Aero

Aero-1046L (B) (G) / 5X

Gantry type 5-axis machining center

High Speed High Precision Gantry type 5-axis machining center

High Efficiency Solutions for Aerospace Components

One & only :


0
1
2
3
4
5
6
7
8
9

0
1
2
3
4
5
6
7
8
9
.

0
1
2
3
4
5
6
7
8
9

0
1
2
3
4
5
6
7
8
9

0
1
2
3
4
5
6
7
8
9

0
1
2
3
4
5
6
7
8
9

0
1
2
3
4
5
6
7
8
9

0
1
2
3
4
5
6
7
8
9
. NM

HSK-A100 Maximum Torque Output

Maximum Torque output B axis/C axis : 1,000/1,000 NM


0
1
2
3
4
5
6
7
8
9

0
1
2
3
4
5
6
7
8
9

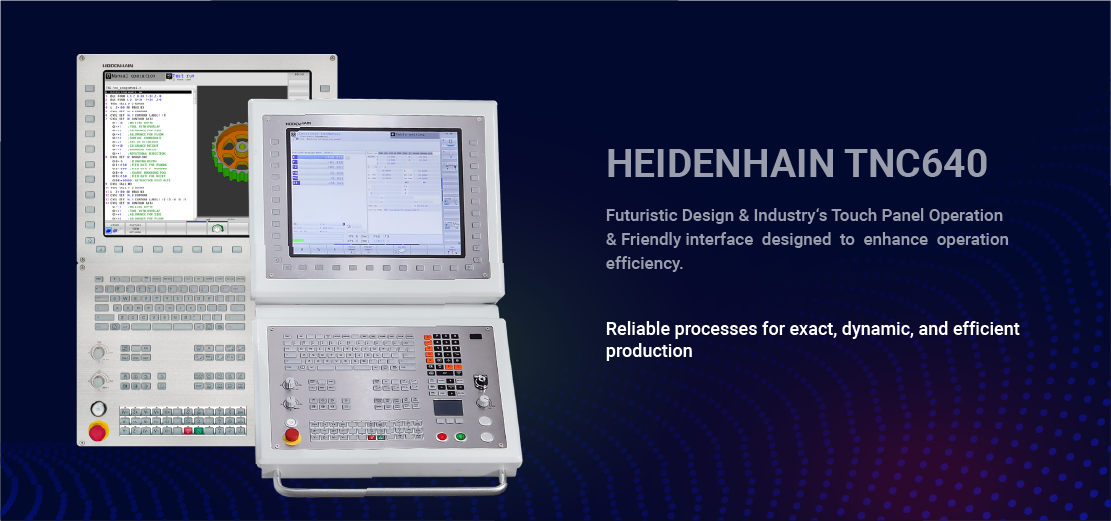
Hartford-base Self-display Designed for Heidenhain TNC 640

Hartford-base Self-display Designed for Heidenhain TNC 640: faster operational efficiency


0
1
2
3
4
5
6
7
8
9

0
1
2
3
4
5
6
7
8
9

0
1
2
3
4
5
6
7
8
9

0
1
2
3
4
5
6
7
8
9
%

Z-axis four-line guideways

Z-axis four-line guideways than the peers two-line rails, 30% increase in load capacity


0
1
2
3
4
5
6
7
8
9

0
1
2
3
4
5
6
7
8
9
Years

Oil-Air Lubrication spindle

2-Year Warranty Without Operation Hours Limit per Spindle with Oil-Air Lubrication


0
1
2
3
4
5
6
7
8
9

0
1
2
3
4
5
6
7
8
9
Axis

5-Axis Error

Automatic Compensation


0
1
2
3
4
5
6
7
8
9

0
1
2
3
4
5
6
7
8
9

Y-axis 3 linear guideways and linear motor design

High speed and high accuracy without backlash

HEDEIHAIN TNC640

Mechanism Design

Specifications

Related models

HEDEIHAIN TNC640

One & Only

Mechanism Design

test

X/Y multi linear guideways with wide span design

test

Roller type linear guideways on 3 axis

test

Z axis four linear guidways three binding structure patented technology

Rigid & Stable Structure Design

The optimal solution for high-speed and high-precision machining of large-size workpiece

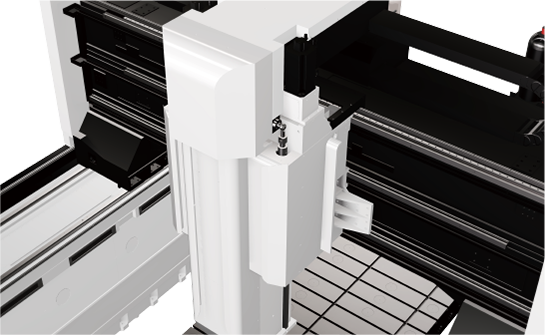
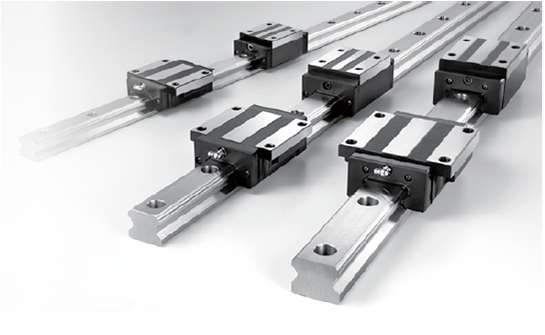
1. X/Y multi linear guideways with wide open span design: X axis with 4 linear guideways - 2 linear guideways on each side to maximize rigidity; Y axis with 3 linear guideways.

2. Roller type linear guideways on 3 axis: This makes high accuracy, heavy load resistance and long lifespan possible, 20 % increase compared with that of ball type.

3. Z axis four linear guideways three binding structure patented technology: Providing high rigidity while cutting, bringing you excellent performanc
test

Twin ballscrew design on Z axis

test

Thermal growth control on Z axis

test

CYTEC 5 axis head

Optimized Structure Design

Maintain excellent positioning accuracy of the machine

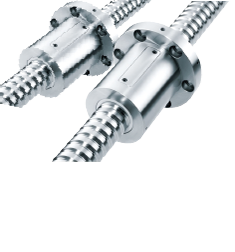
1. Twin ballscrew design on Z axis.

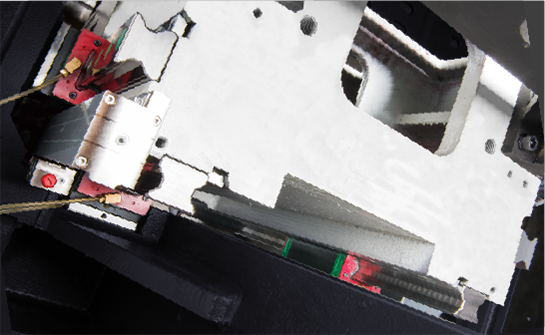
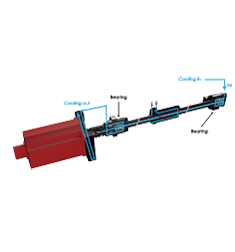
2. Thermal growth control on Z axis: Motor base, ballscrew, nuts and bearings are completely cooled, which increases dynamic rigidity and axis accuracy by 15%.

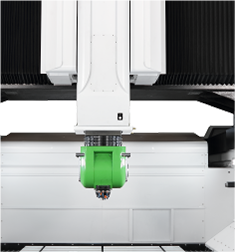
3. Assembly with Germany made Cytec 5 axis head delivers high precision. 

Selection of Transmission Modes

test

Linear motor

test

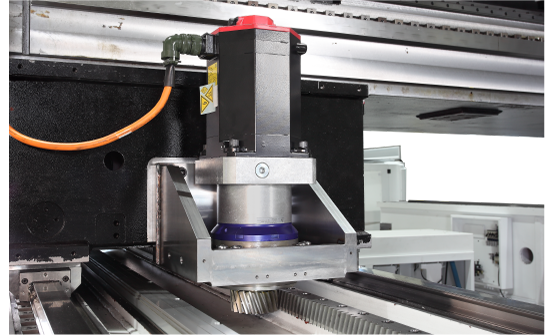
Rack and pinion on X axis

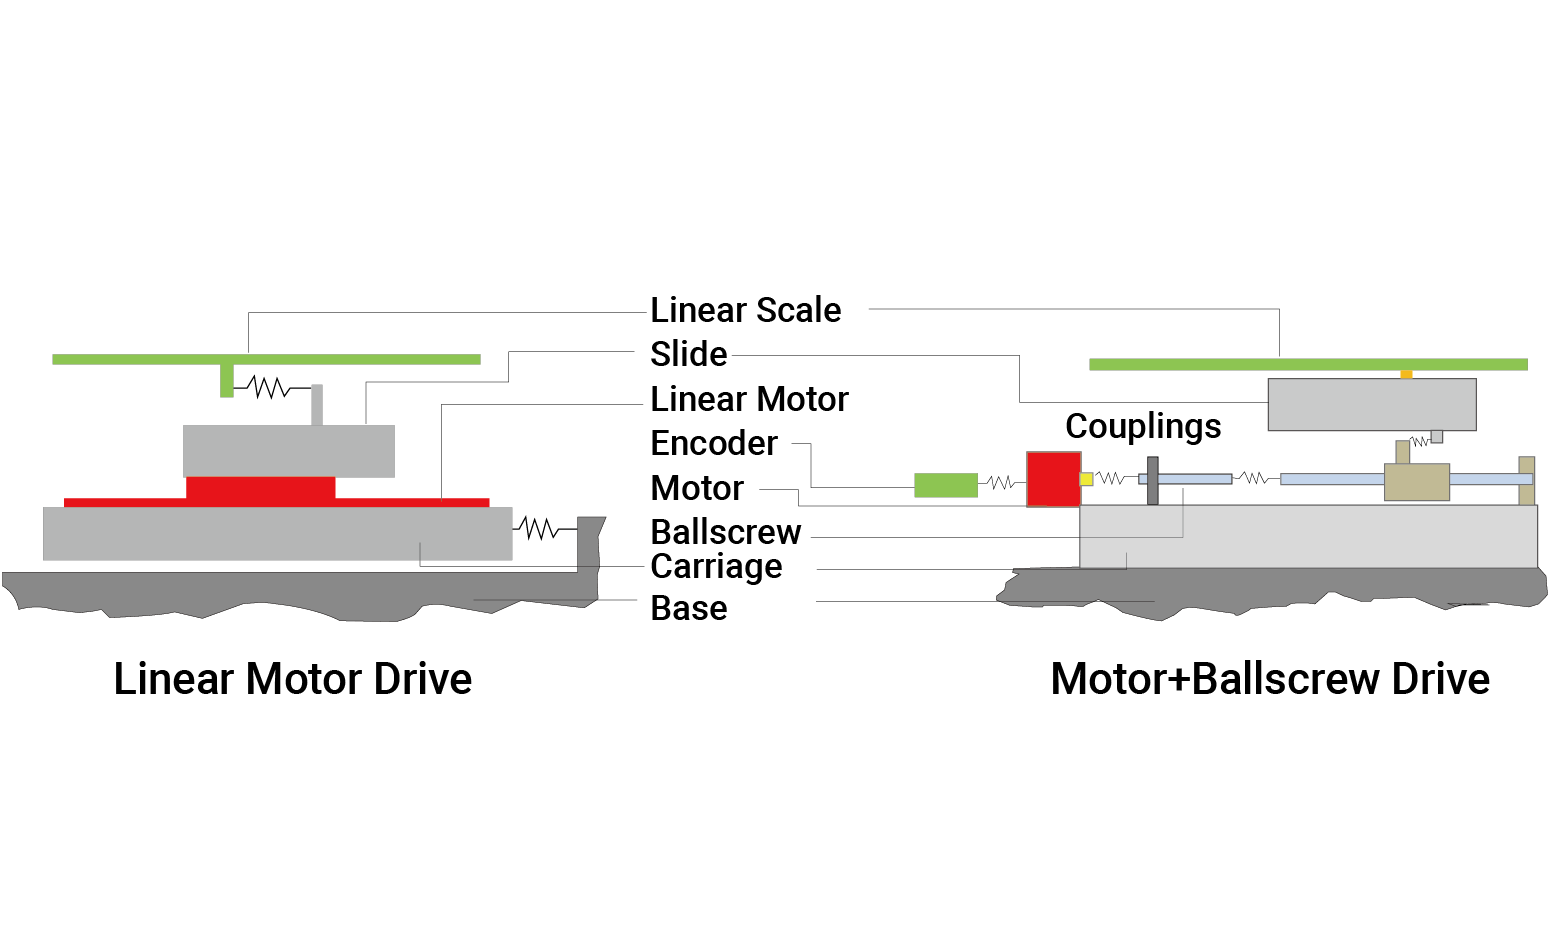
Linear Motor v.s. Rack & Pinion

1. Linear motor: Achieve the best advantages of high processing efficiency and high precision effectively.

(limited to X-axis ≦ 6 meters)

2. Rack & pinion driven on X-axis : no backlash and low noise, Improved positioning accuracy, high feed rate up to 50M/min. (limited to X-axis ≥ 8 meters)

test

test

test

test

test

Performance and standard on the same as Japanese machines

test

9 faces measurement

test

S CUT

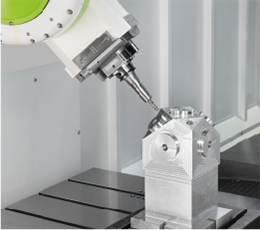
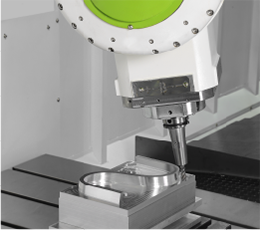
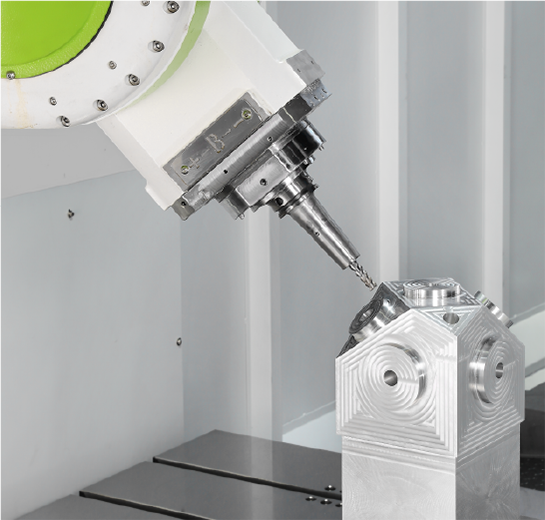
1. Decades of machine tool manufacturing technology, plus new developed AI technology, makes the machining accuracy/efficiency/finish almost equal to the level of Japanese machines

2. “Super Speed Cycle time” makes cutting efficiency 15% ~ 50% higher than Taiwanese peers.


.Model:Aero-1046/ 5X

.Spindle:HSK-A63 Built-in 24,000 RPM 43 KW

.Cutting material:Aluminum die cast ADC12

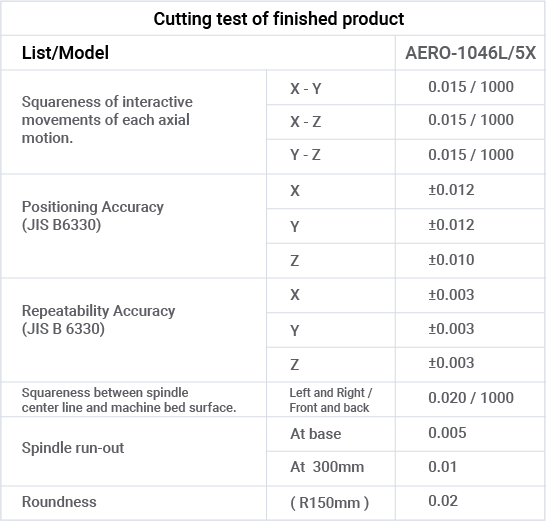
Inspection standard reaches the pursuit of perfection

It is guaranteed, the quality of each machine is almost zero defect

Inspection standard reaches the pursuit of perfection

test

test

test

test


test

We guaranteed, the quality of each machine is almost zero defect

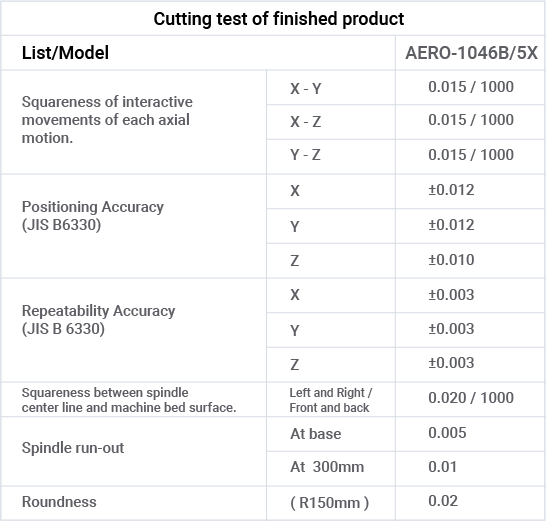
Tolerance of 3D contouring accuracy conforms to the standard:

Result of 114 spots test is approved within tolerance (± 0.02mm).


OMV (On Machine Verification): 3D Inspection is directly employed based on OMV system, which ensures each workpiece is qualified, and efficiency is enhanced to reduce time on workpiece upload/load on the table.

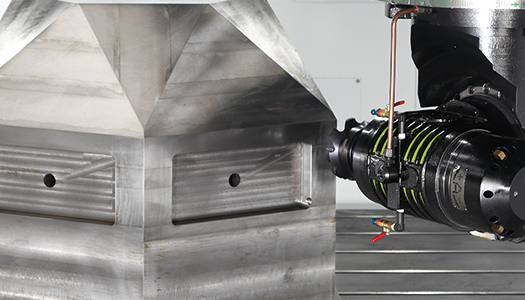
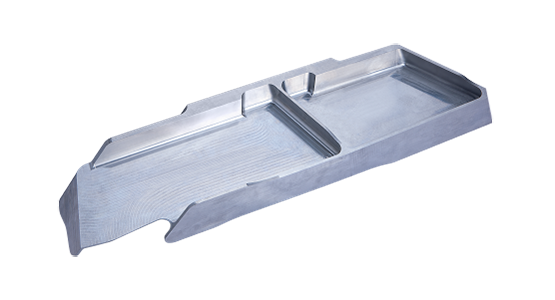
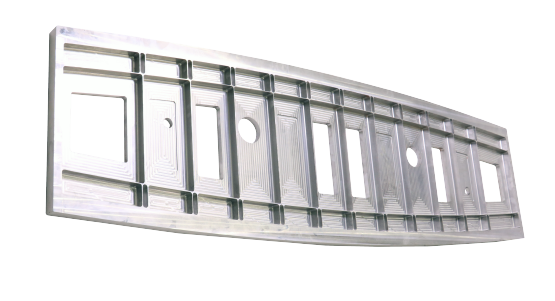
Demonstrate the ultimate cutting efficiency and fantastic accuracy & smoothness of mold

test

test

Specifications

Worktable size

Worktable size

10000 * 4100

mm

Max. load (Average)

5000

kg/ m2

Travel

X axis travel

10000

mm

Y axis travel

4100

mm

Z axis travel

1100 opt 1300

mm

Spindle

Spindle nose taper

HSK-A63 or HSK-A100

Spindle (HSK-A63)

18000 / 24000

rpm

Spindle (HSK-A100)

12000

rpm

ATC

Capacity

S type 30 (opt 40), A type 40 (opt 60)

pcs

Spindle motor

Spindle drive motor (Cont. / 30 min)

34/43, opt: 21/27, 40/51, 42/53, 60/80

kw